Setup#
This section describes the requirements and the steps to run a basic pipeline. This document lists the necessary steps for both Windows and Linux/macOS. This section uses the app_simple_audio_dsp_integration example found within this repository. The steps will be broadly similar for any user-created project.
Note
Copying multiple lines into the console may not work as expected on Windows. To avoid issues, copy and execute each line individually.
Hardware Requirements#
xcore.ai evaluation board (XK-EVK-XU316 or XK-316-AUDIO-MC-AB)
xTag debugger and cable
2x Micro USB cable (one for power supply and one for the xTag)
Software Requirements#
XTC tools: 15.3.1.
Graphviz: this software must be installed and the
dotexecutable must be on the system path.Python: 3.12 or later.
CMAKE: 3.21 or later.
Additionally, on Windows the following is required:
Setup Steps#
Note
All the steps below are executed from the sandbox folder created in the second step.
Prepare the development environment
On Windows:
Open the Command Prompt or other terminal application of choice
Activate the XTC environment:
call "C:\Program Files\XMOS\XTC\15.3.1\SetEnv.bat"On Linux and macOS:
Open a terminal
Activate the XTC environment using SetEnv
source /path/to/xtc/tools/SetEnvCreate a sandbox folder with the command below:
mkdir lib_audio_dsp_sandboxClone the library inside lib_audio_dsp_sandbox using SSH (if you have shared your keys with Github) or HTTPS:
cd lib_audio_dsp_sandbox

# with SSH
git clone git@github.com:xmos/lib_audio_dsp.git

# without SSH
git clone https://github.com/xmos/lib_audio_dsp.git
For troubleshooting SSH issues, please see this Github guide.
Get the lib_audio_dsp library dependencies inside lib_audio_dsp_sandbox. This step can take several minutes.
On Windows:
cd lib_audio_dsp/examples/app_simple_audio_dsp_integration
cmake -B build -G Ninja
cd ../../..
On Linux and macOS:
cd lib_audio_dsp/examples/app_simple_audio_dsp_integration
cmake -B build
cd ../../..
Create a Python virtualenv inside lib_audio_dsp_sandbox, and install lib_audio_dsp and it’s requirements.
Note
Make sure to use the same Python version as the the recommended in the Software Requirements section.
On Windows:
python -m venv .venv
call .venv/Scripts/activate.bat
pip install -e ./lib_audio_dsp/python
On Linux and macOS:
python3 -m venv .venv
source .venv/bin/activate
pip install -e ./lib_audio_dsp/python
Connect an XCORE-AI-EXPLORER using both USB ports
The examples are presented as a Jupyter notebook for interactive development. Install Juptyer notebooks into the Python virtual environment with the command:
pip install notebook==7.2.1Open the notebook by running from lib_audio_dsp_sandbox the following command:
jupyter notebook lib_audio_dsp/examples/app_simple_audio_dsp_integration/dsp_design.ipynbIf a blank screen appears or nothing opens, then copy the link starting with http://127.0.0.1/ from the terminal into the browser. The top level Jupyter notebook page should open, as can be seein in Fig. 1.
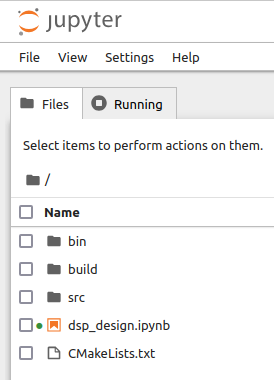
Fig. 1 Top-level page of the Jupyter Notebook#
Run all the cells from the browser. From the menu at the top of the page click Run -> Run all cells (Fig. 2). This creates the pipeline and builds the app. Wait for all the cells to finish.
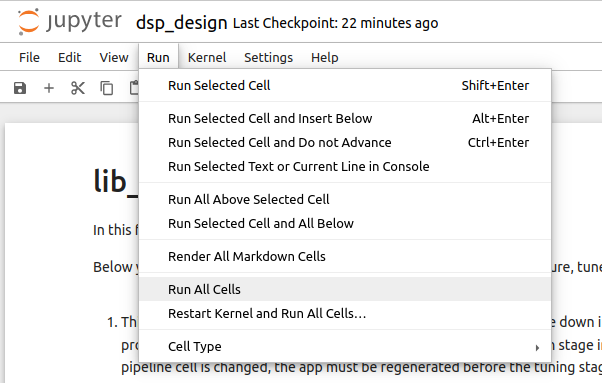
Fig. 2 Run menu of the Jupyter Notebook#
Once finished, the setup phase is complete. The notebook should look like as in the example on Fig. 3.
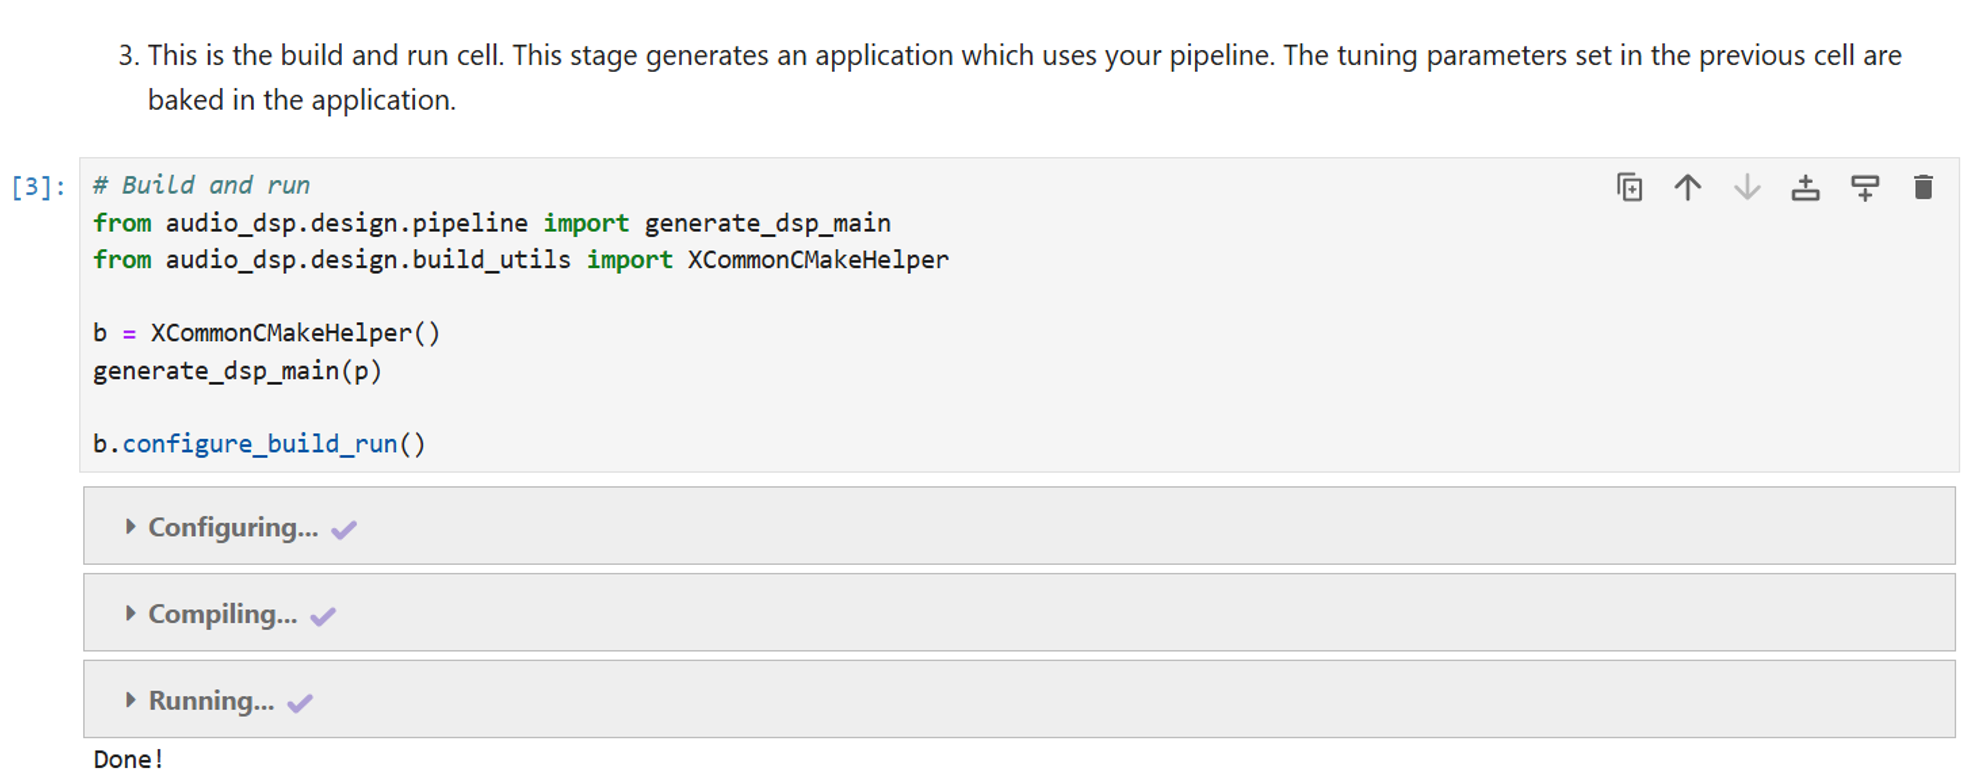
Fig. 3 Run Success of the Jupyter Notebook#
If there are any configuration or compilation errors, they will be displayed in the notebook in the Build and run cell, as in the example on Fig. 4.
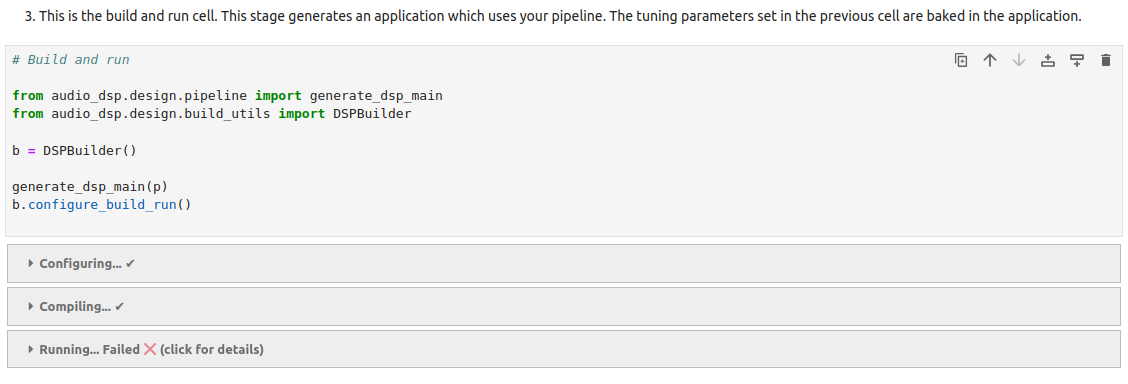
Fig. 4 Run Error of the Jupyter Notebook#
Once the setup phase is complete, the user can proceed to either creating a custom pipeline, mapping the pipeline to audio input or output sources, or deploying the pipeline to the xcore. The Using the Tool section describes how to achieve this.
Running a notebook after the first installation#
If running the notebook after the initial configuration, the following steps are required:
Configure the settings below, using the instructions in the Setup Steps section:
Enable the XTC tools: the installation can be tested by running the command
xrun --versionfrom the terminal. If the command is not found, the XTC tools are not installed correctly.From your sandbox, enable the Python Virtual Environment and check the path is set:
On Windows:
call .venv/Scripts/activate.bat
echo %VIRTUAL_ENV%
On Linux and macOS:
source .venv/bin/activate
echo $VIRTUAL_ENV
From the
lib_audio_dsp_sandboxfolder, open the notebook by running:jupyter notebook lib_audio_dsp/examples/app_simple_audio_dsp_integration/dsp_design.ipynb